


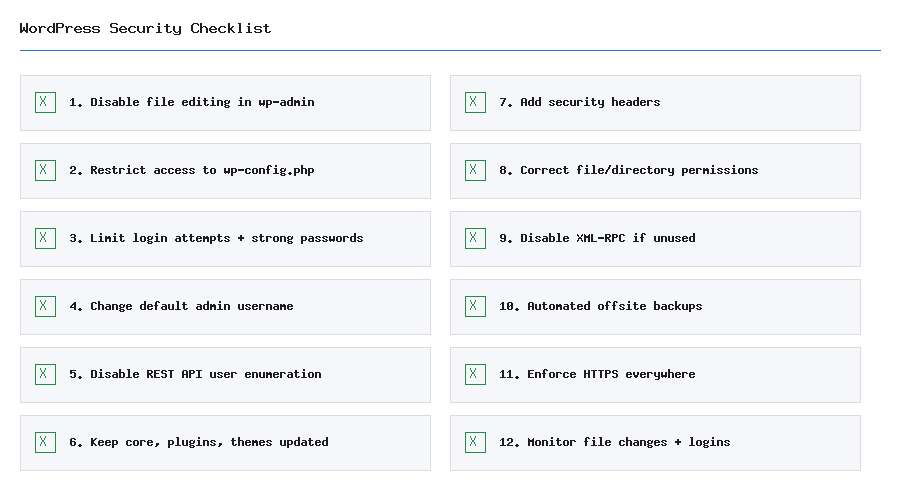
A WordPress security checklist is the fastest way to close the gaps that attackers actually exploit — not exotic zero-days, but weak logins, exposed config data, outdated files, and default settings nobody bothered to change. Most successful attacks on WordPress sites come from a handful of well-known weaknesses, repeated at scale by automated bots. This guide walks through 12 concrete hardening steps with real code, plus a few bonus practices, notes on what each fix actually protects against, and what to do if you suspect a site has already been compromised.
Why a WordPress Security Checklist Matters
WordPress powers a huge share of the web, which makes it a constant target for automated bots scanning for outdated plugins, weak passwords, and misconfigured servers. These bots don’t target you specifically — they scan millions of sites looking for the same handful of known weaknesses. You don’t need to stop every theoretical attack; you need to close the common, cheap ones that bots probe for by default. That’s what this checklist focuses on: high-impact, low-effort fixes over exotic, rarely-exploited edge cases.
1. Disable File Editing from the Admin Dashboard
By default, any admin can edit theme and plugin files directly from wp-admin’s built-in editor. If an attacker gets admin access — through a stolen password, a vulnerable plugin, or a phishing attempt — this becomes an instant path to executing arbitrary PHP on your server. Turn it off in wp-config.php:
define('DISALLOW_FILE_EDIT', true);Note: This only disables the in-dashboard editor. It does nothing to stop file changes made through FTP, SSH, or a compromised plugin’s own code — it simply removes one convenient attack surface for anyone who reaches the admin dashboard.
2. Move or Restrict wp-config.php
wp-config.php holds your database credentials, authentication keys, and secret salts — arguably the single most sensitive file in a WordPress install. WordPress will read it one directory above the install root, so moving it out of the web root removes it from direct HTTP access entirely.
// .htaccess, as a fallback if you can't move the file:
<files wp-config.php>
order allow,deny
deny from all
</files>
Warning: If you’re on Nginx rather than Apache, .htaccess rules do nothing — you need an equivalent location block in your server config denying access to wp-config.php directly.
3. Limit Login Attempts and Enforce Strong Passwords
Brute-force login attempts — automated scripts trying thousands of username/password combinations — are one of the most common automated attacks against any WordPress site. Rate-limit failed logins and enforce strong passwords for every role with dashboard access, not just administrators; a compromised Editor or Contributor account is still a foothold.
// Example: reject weak passwords on registration/profile update
add_action('user_profile_update_errors', function ($errors, $update, $user) {
    if (!empty($_POST['pass1']) && strlen($_POST['pass1']) < 12) {
        $errors->add('pass', 'Password must be at least 12 characters.');
    }
}, 10, 3);
Note: Consider adding two-factor authentication (2FA) on top of this, especially for administrator accounts. A strong password stops brute force; 2FA stops credential-stuffing attacks where a password was already leaked in an unrelated data breach.
4. Change the Default “admin” Username and Login URL
Never keep a user named admin — it’s the first guess in every brute-force script, cutting the attacker’s work in half since they only need to guess the password. Combine this with hiding the default /wp-login.php and /wp-admin paths behind a custom slug using a lightweight security plugin, or rewrite the route yourself at the server level.
Note: Hiding the login URL is “security through obscurity” — it reduces noise from dumb bots but shouldn’t be your only defense. Pair it with the strong-password and 2FA steps above rather than relying on it alone.
5. Disable REST API User Enumeration
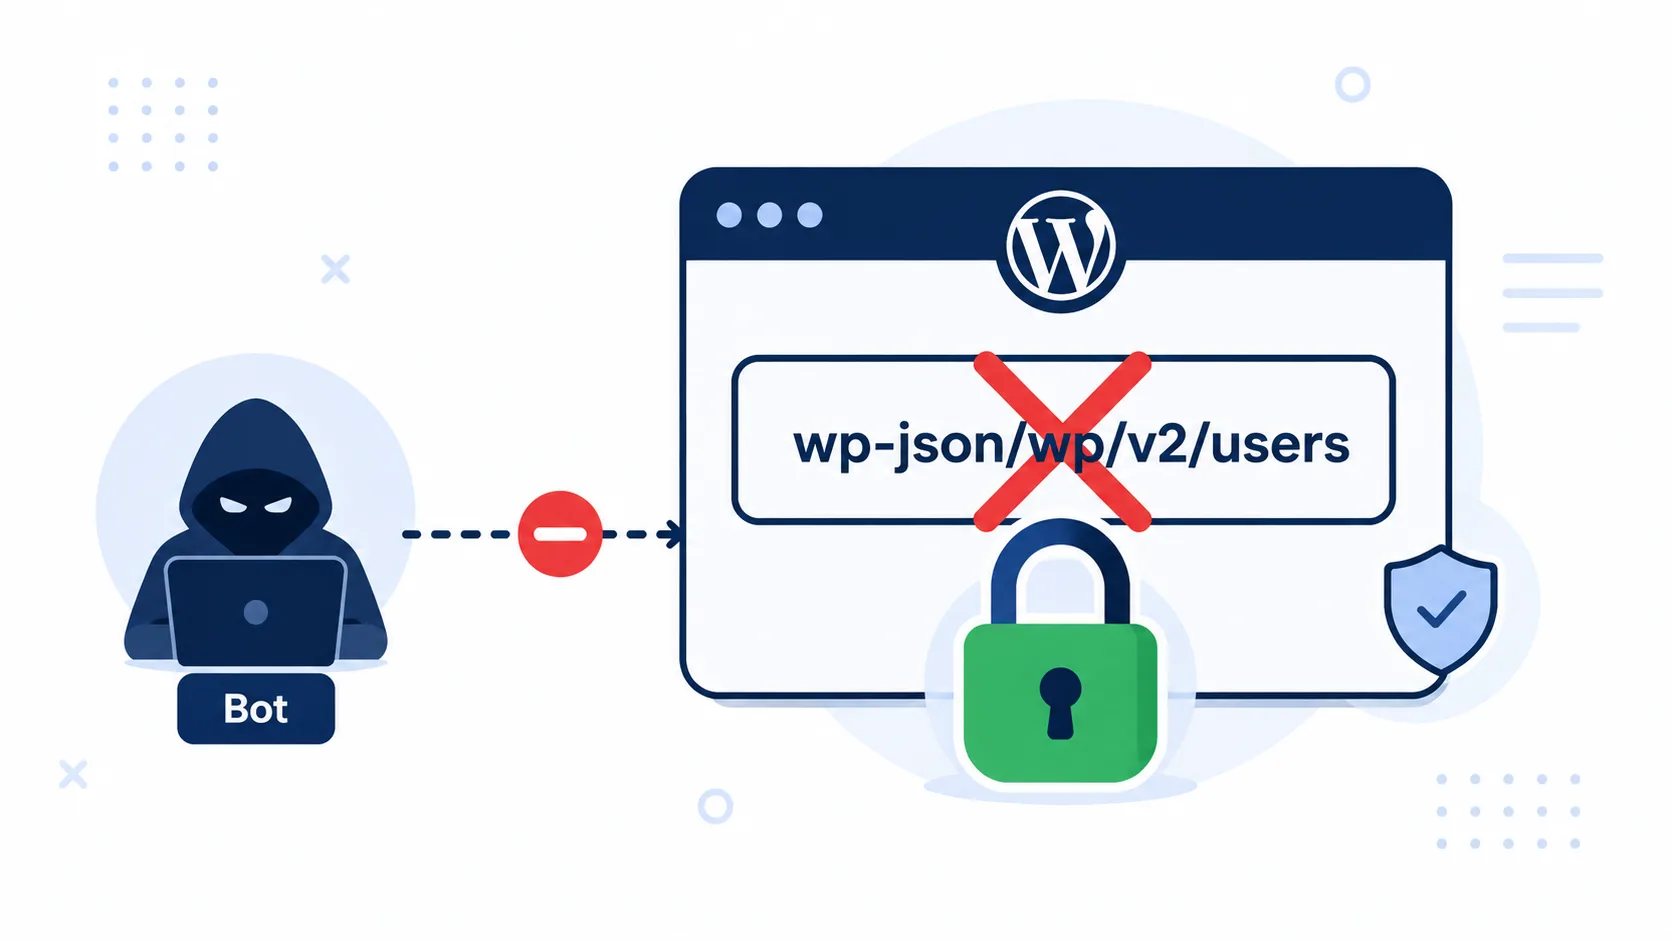
The default REST API happily lists registered usernames at /wp-json/wp/v2/users, handing attackers a ready-made list of login targets without any guesswork. Restrict it to authenticated requests only:
add_filter('rest_endpoints', function ($endpoints) {
    if (isset($endpoints['/wp/v2/users'])) {
        unset($endpoints['/wp/v2/users']);
    }
    if (isset($endpoints['/wp/v2/users/(?P<id>[d]+)'])) {
        unset($endpoints['/wp/v2/users/(?P<id>[d]+)']);
    }
    return $endpoints;
});
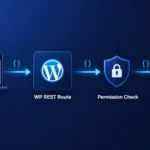
If you’re building your own custom REST API endpoints, apply the same scrutiny there — a missing or overly permissive permission_callback on a custom route is functionally the same mistake as leaving this default endpoint open.
6. Keep Core, Plugins, and Themes Updated
Most real-world WordPress breaches exploit a known, already-patched vulnerability in outdated software — not some undiscovered flaw. Enable automatic minor core updates at minimum, and review plugin/theme changelogs regularly instead of updating blindly on a fixed schedule.
// wp-config.php: enable automatic updates for minor core releases (default)
// and optionally for all core releases:
define('WP_AUTO_UPDATE_CORE', true);
Warning: Remove plugins and themes you’re not actively using, even if they’re deactivated. An inactive-but-installed plugin with a known vulnerability is still exploitable in many attack chains, since its PHP files are still sitting on disk.
7. Add Security Headers
Security headers instruct the browser to enforce protections against clickjacking, MIME sniffing, and some XSS vectors. Add them via functions.php or, better, at the server/CDN level where they apply even if PHP fails to execute:
add_action('send_headers', function () {
    header('X-Frame-Options: SAMEORIGIN');
    header('X-Content-Type-Options: nosniff');
    header('Referrer-Policy: strict-origin-when-cross-origin');
});
For a deeper reference on what each header does and additional options like Content-Security-Policy, see the MDN HTTP headers documentation.
8. Set Correct File and Directory Permissions
Overly permissive file permissions let a compromised script write to files it shouldn’t be able to touch, turning a small vulnerability into a full site takeover. A safe baseline for most shared hosting setups:
// Directories: 755
find /path/to/wordpress/ -type d -exec chmod 755 {} ;

// Files: 644
find /path/to/wordpress/ -type f -exec chmod 644 {} ;

// wp-config.php specifically: 600 or 440, if your host allows it
chmod 600 wp-config.php
Warning: Never use chmod 777 anywhere on a production site, even temporarily to “fix” an upload permission error — it makes the file or directory world-writable, which is one of the fastest paths to a compromised site if any script on the server has a vulnerability.
9. Disable XML-RPC If You Don’t Need It
XML-RPC is frequently abused for brute-force amplification (via system.multicall, which lets an attacker test hundreds of password guesses in a single HTTP request) and DDoS pingback attacks that use your site to hammer someone else’s. Unless you rely on the WordPress mobile app or a service that specifically needs it, disable it:
add_filter('xmlrpc_enabled', '__return_false');10. Take Automated, Offsite Backups
Backups don’t prevent an attack, but they’re what turns a disaster into an inconvenience. Automate them, store copies offsite — not just on the same server, which can be compromised or wiped alongside the site — and actually test a restore occasionally. An untested backup is a hope, not a plan.
Note: Back up both the database and the files directory separately, and confirm your backup solution captures your uploads folder, not just wp-content code. Media files are usually the largest and most overlooked part of a restore.
11. Enforce HTTPS Everywhere
Serve the entire site over HTTPS and redirect all HTTP traffic. This protects login credentials, session cookies, and any data submitted through forms from being intercepted on the network, and it’s also a minor search ranking factor.
// wp-config.php, if behind a reverse proxy/load balancer that terminates SSL:
if (isset($_SERVER['HTTP_X_FORWARDED_PROTO']) && $_SERVER['HTTP_X_FORWARDED_PROTO'] === 'https') {
    $_SERVER['HTTPS'] = 'on';
}
12. Monitor for File Changes and Suspicious Logins
Detection matters as much as prevention. A file-integrity monitor that alerts on unexpected changes to core, plugin, or theme files — combined with login logging — means you find out about a breach in hours, not months. For more detail on official hardening recommendations, the WordPress Hardening Handbook is worth bookmarking as a reference alongside this checklist.
Bonus: A Few More Habits Worth Building
- Change the default database table prefix (
wp_) during install to something unique — it’s a small speed bump against automated SQL injection scripts that assume the default prefix. - Disable directory browsing with
Options -Indexesin.htaccess, so visitors can’t browse raw file listings of folders that don’t have an index file. - Restrict wp-admin by IP if you or your team work from a small number of fixed locations — this closes off login attempts entirely from anywhere else.
- Scan for malware periodically using a service like Sucuri SiteCheck, even if nothing seems wrong — some infections stay dormant or hide their symptoms from the site owner while still harming visitors or SEO.
What to Do If You Think You’ve Already Been Hacked
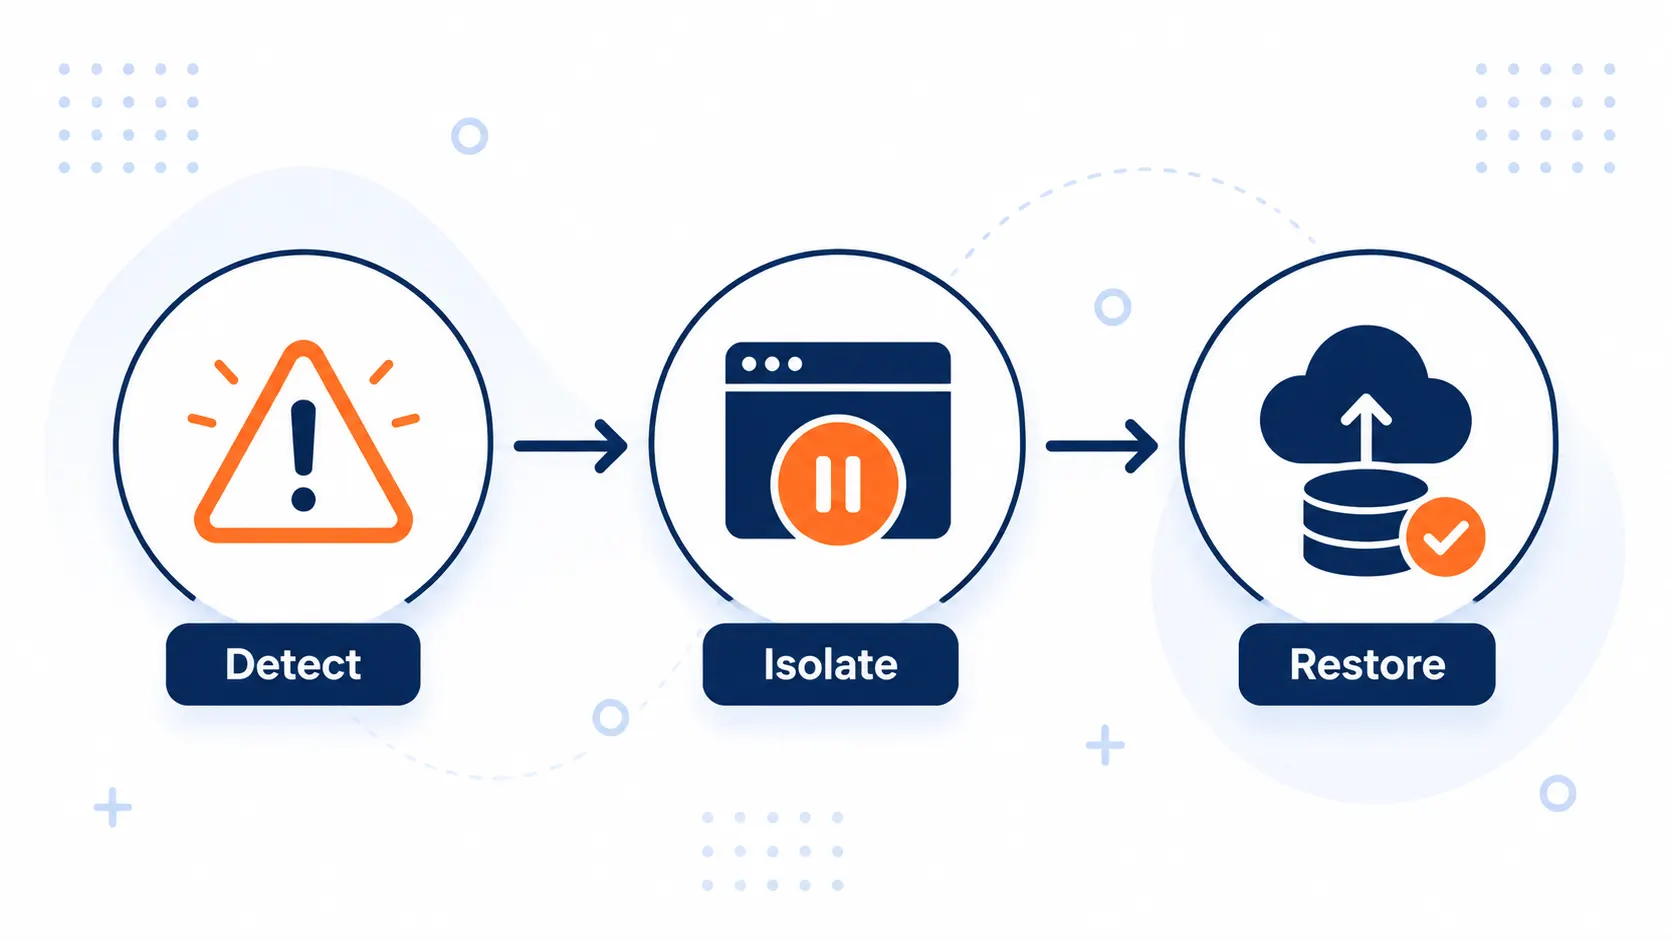
If you’re seeing unexpected admin users, unfamiliar files, redirected traffic, or a Google “this site may be hacked” warning, don’t just delete the obvious symptom and move on — find the entry point first, or the same vulnerability will be exploited again immediately. Take the site offline or into maintenance mode, restore from a known-clean backup if you have one, rotate every password and API key (WordPress, hosting, database, FTP), and only then bring it back online. If the entry point isn’t obvious, a professional malware removal service is often faster and more thorough than manual cleanup.
Wrapping Up
None of these steps require exotic tools — most are a config change, a filter, or a habit. Start with the ones that take five minutes (disabling file editing, XML-RPC, and REST API user enumeration) and work down the list from there. If you’re also exposing custom data through your own routes, pair this checklist with our guide on building a custom WordPress REST API endpoint to make sure your own routes are locked down too, and if you’re moving toward a headless WordPress architecture, remember that an API-only backend has a different attack surface than a traditional theme-rendered site — every one of these hardening steps still applies, and REST-specific ones matter even more.


9 replies on “WordPress Security Checklist: 12 Steps to Harden Your Site”
[…] If you’re building blocks for a commercial plugin, keep the same security habits from our WordPress security checklist in mind — sanitize attributes on save and escape them on render, every […]
[…] pipeline to manage. If you do go headless, revisit your custom REST API endpoint patterns and your WordPress security checklist together — an API-only backend has a different attack surface than a traditional site, and […]
[…] confirm the underlying data is meant to be public. This is exactly the kind of gap covered in our WordPress security checklist, particularly the section on REST API user […]
[…] Note: The corrected version above also switches update() from strip_tags()/raw storage to sanitize_text_field() and esc_url_raw(), and the form() fields now use esc_attr() instead of the unescaped balanceTags() output. Storing and echoing admin-submitted values without sanitizing on save and escaping on output is a common source of stored XSS in custom widgets — treat widget settings with the same care as any other user input, the same principle covered in our WordPress security checklist. […]
[…] for genuinely private content — the same access-control principles covered in our WordPress security checklist, and the same permission-callback pattern used in a custom REST API […]
[…] Worth knowing: the PDF URL in these examples lives in your public wp-content/uploads folder, which means anyone who discovers or guesses that URL can download it directly — without ever filling out the form. If the whole point of gating the file behind a form submission is lead generation (you want the email address before the download happens), a direct static URL doesn’t actually enforce that; it only makes the “happy path” look gated in the UI. For a setup that genuinely requires a successful submission before the file becomes accessible, you’d need a short-lived signed URL or token generated server-side after the form processes — a good use case for a custom REST API endpoint that issues a one-time download link rather than exposing a permanent static path. For a general refresher on locking down access appropriately, see our WordPress security checklist. […]
[…] Not escaping dynamic output in the tab’s content callback — treat it like any other front-end template, using esc_html(), esc_attr(), and friends exactly as covered in our WordPress security checklist. […]
[…] "keep core, plugins, and themes updated" and general input-sanitization principles in our WordPress security checklist — SVG upload is really just another form of user-supplied input that has to be treated as […]
[…] wp_redirect() does not validate whether the given URL points to your own site or somewhere else. That means it’s vulnerable to an open redirect if you ever pass it a URL that came from user input — a query string parameter, a form field, anything not hardcoded by you. An attacker can craft a link that looks like it points to your trusted domain but silently redirects the visitor to a phishing site once they click it, which is exactly the kind of trust-abuse attack covered in the broader context of our WordPress security checklist. […]