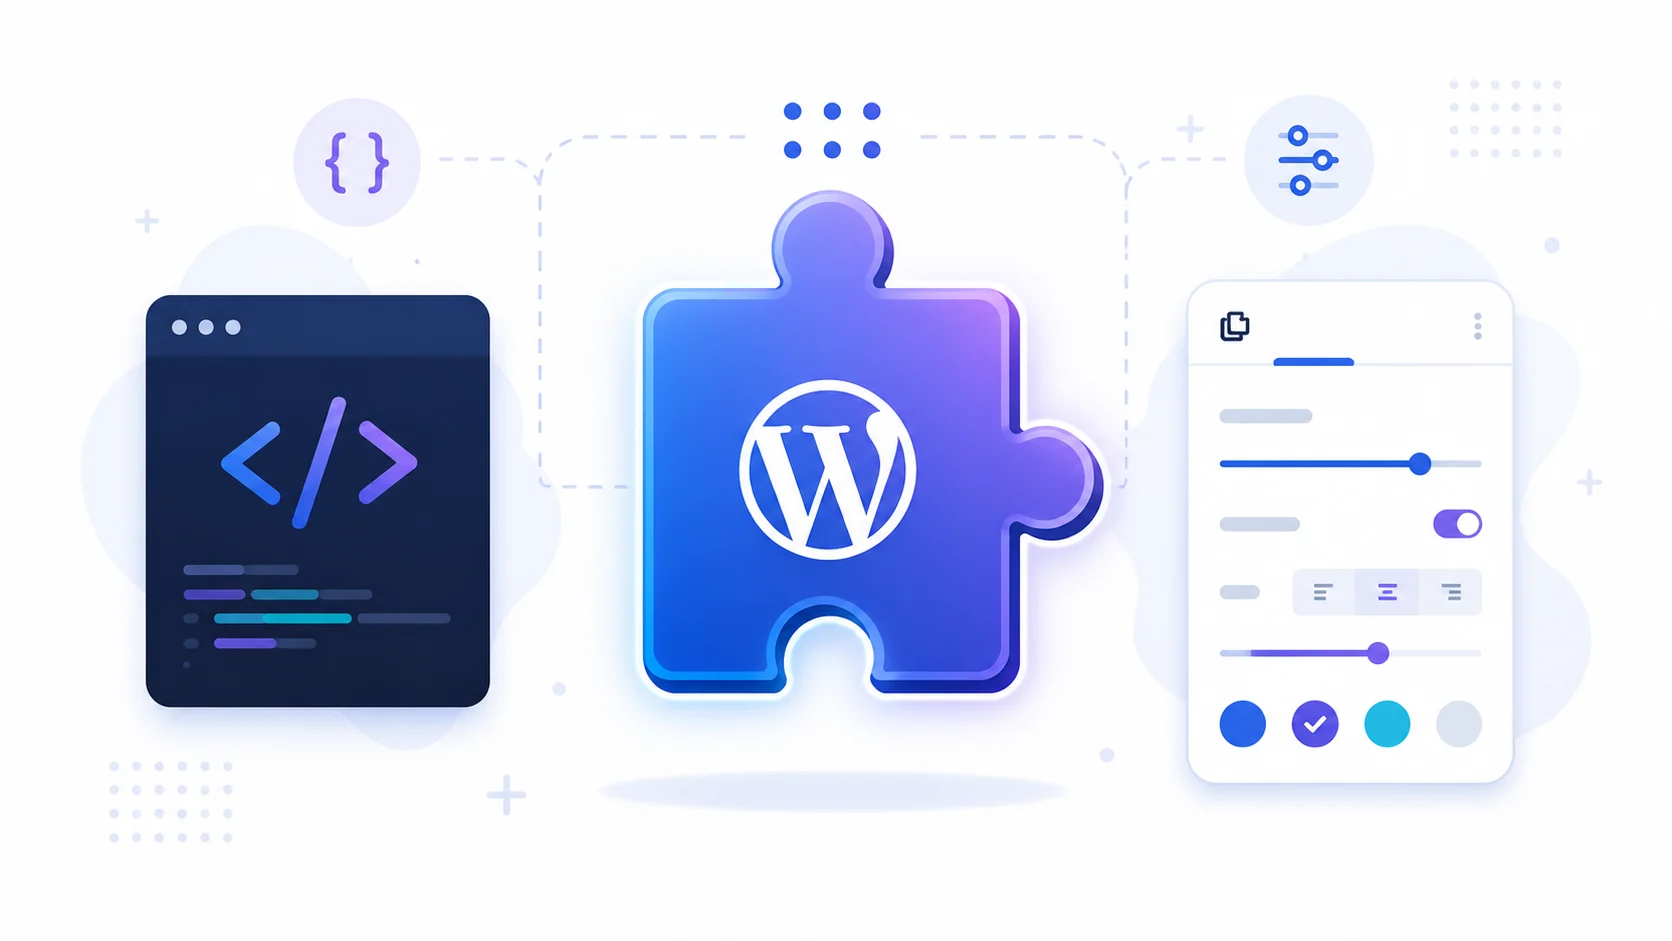
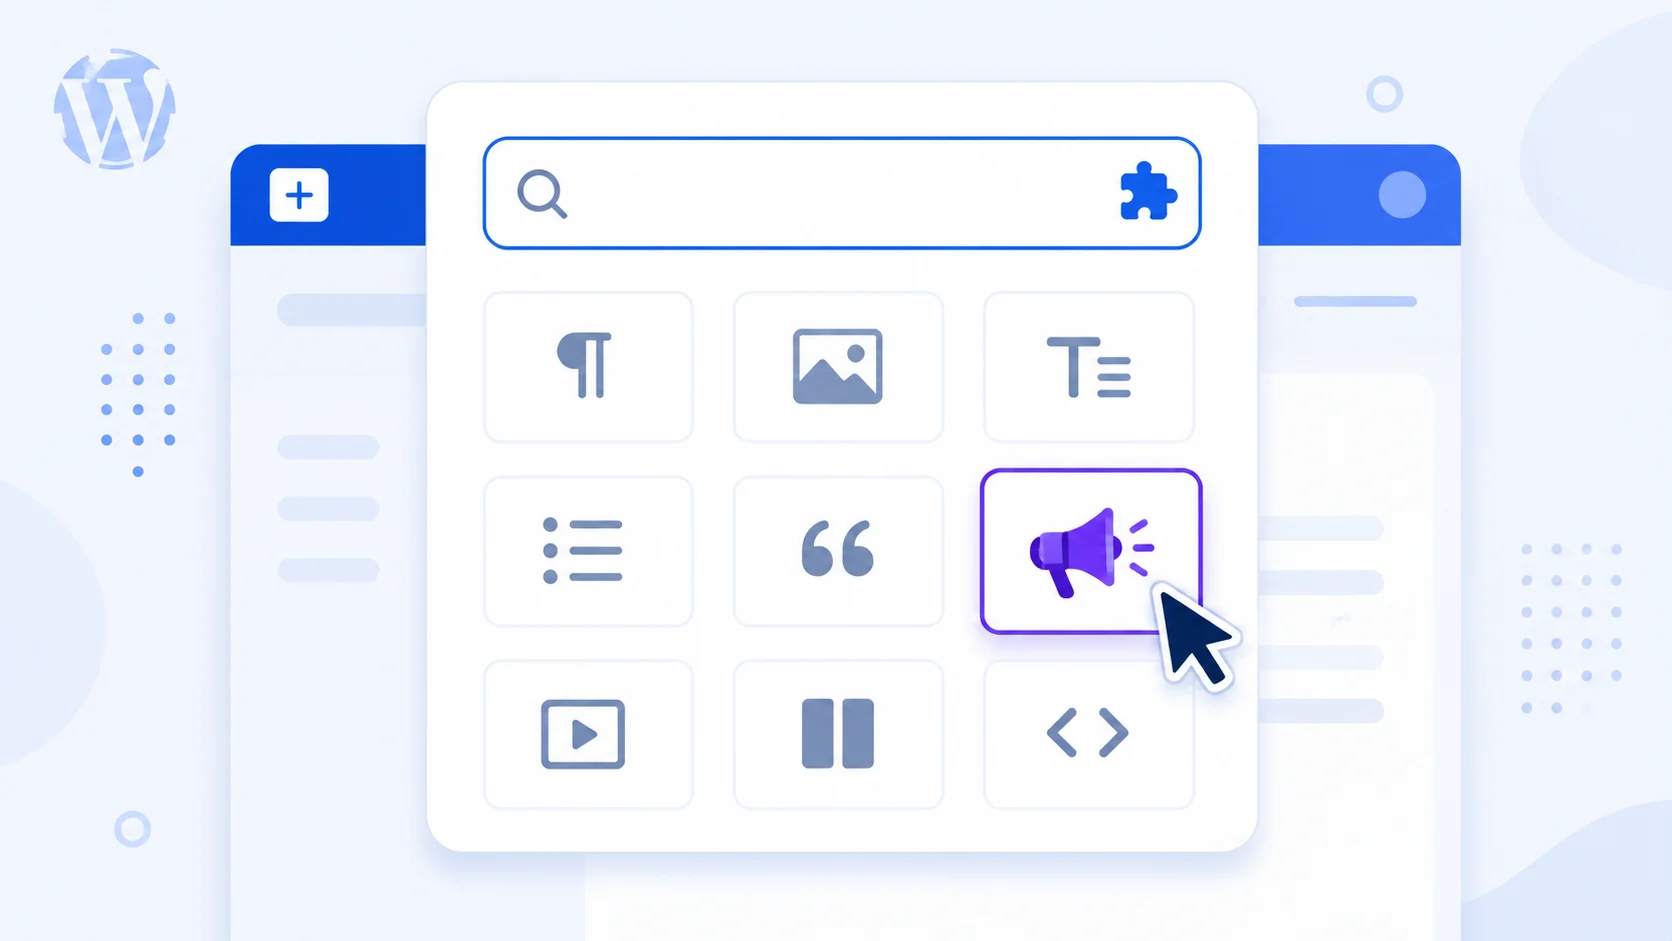
A custom Gutenberg block gives editors a purpose-built, drag-and-drop way to add exactly the content your theme or plugin needs — no build tools, no npm, no webpack required if you keep it simple. Shortcodes and custom fields work, but they’re invisible in the editor until you preview the page. A block renders live in the editor, gives non-technical editors a proper UI (text fields, color pickers, image uploads), and keeps content structured instead of buried in raw HTML or bracket syntax. This guide walks through registering a real, working block using plain JavaScript and PHP — the same low-level approach production plugins use under the hood, even when their build tooling hides it.
Why Build a Custom Gutenberg Block
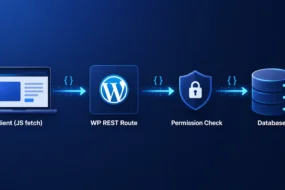
Beyond the editor experience, blocks give you structured, machine-readable content. Because attributes are stored as a defined schema rather than free-form HTML, you can query, filter, or transform block content programmatically — something a shortcode’s opaque string can’t offer. This also matters if you’re heading toward headless WordPress, where structured block data is far easier to expose cleanly through the REST API than a wall of unstructured HTML.
1. Register the Block in PHP
Every block needs a block.json file describing its name, attributes, and script dependencies, registered via register_block_type() on init. This single call handles registering the script, the style, and the block metadata together.
// block.json
{
    "apiVersion": 3,
    "name": "wpwebguru/callout-box",
    "title": "Callout Box",
    "category": "text",
    "icon": "megaphone",
    "attributes": {
        "message": {
            "type": "string",
            "default": ""
        },
        "style": {
            "type": "string",
            "default": "info"
        }
    },
    "editorScript": "file:./block.js"
}
// functions.php or a plugin file
add_action('init', function () {
register_block_type(__DIR__ . '/blocks/callout-box');
});Note: The name field must be namespaced as vendor/block-name, exactly like a REST API namespace — this prevents collisions with core blocks and other plugins’ blocks in the inserter.
2. Write the Block’s JavaScript (No Build Step)
WordPress ships React (as wp.element) and the block-editor APIs (as wp.blockEditor) globally on every admin page, so you can write a block with plain wp.blocks.registerBlockType() and skip JSX/webpack entirely. This is the fastest path to a working block, though larger blocks usually migrate to the official @wordpress/scripts build tooling once the JavaScript grows past a file or two.
// block.js
( function ( blocks, blockEditor, element ) {
    const { registerBlockType } = blocks;
    const { useBlockProps, RichText, InspectorControls } = blockEditor;
    const { createElement: el } = element;

    registerBlockType( 'wpwebguru/callout-box', {
        edit: function ( props ) {
            const { attributes, setAttributes } = props;
            const blockProps = useBlockProps( { className: 'callout-box callout-' + attributes.style } );

            return el( 'div', blockProps,
                el( RichText, {
                    tagName: 'p',
                    value: attributes.message,
                    onChange: function ( message ) { setAttributes( { message: message } ); },
                    placeholder: 'Enter callout textu2026'
                } )
            );
        },
        save: function ( props ) {
            const blockProps = blockEditor.useBlockProps.save( { className: 'callout-box callout-' + props.attributes.style } );
            return el( 'div', blockProps,
                el( blockEditor.RichText.Content, { tagName: 'p', value: props.attributes.message } )
            );
        }
    } );
} )( window.wp.blocks, window.wp.blockEditor, window.wp.element );
Warning: The save() function’s output is baked into post_content as static HTML when the post is saved. If you change save() later, existing posts using the old markup will show a “block validation failed” error in the editor — plan your saved markup carefully, and use deprecated versions in block.json/JS if you need to support old content going forward.
3. Add Editor Controls with InspectorControls
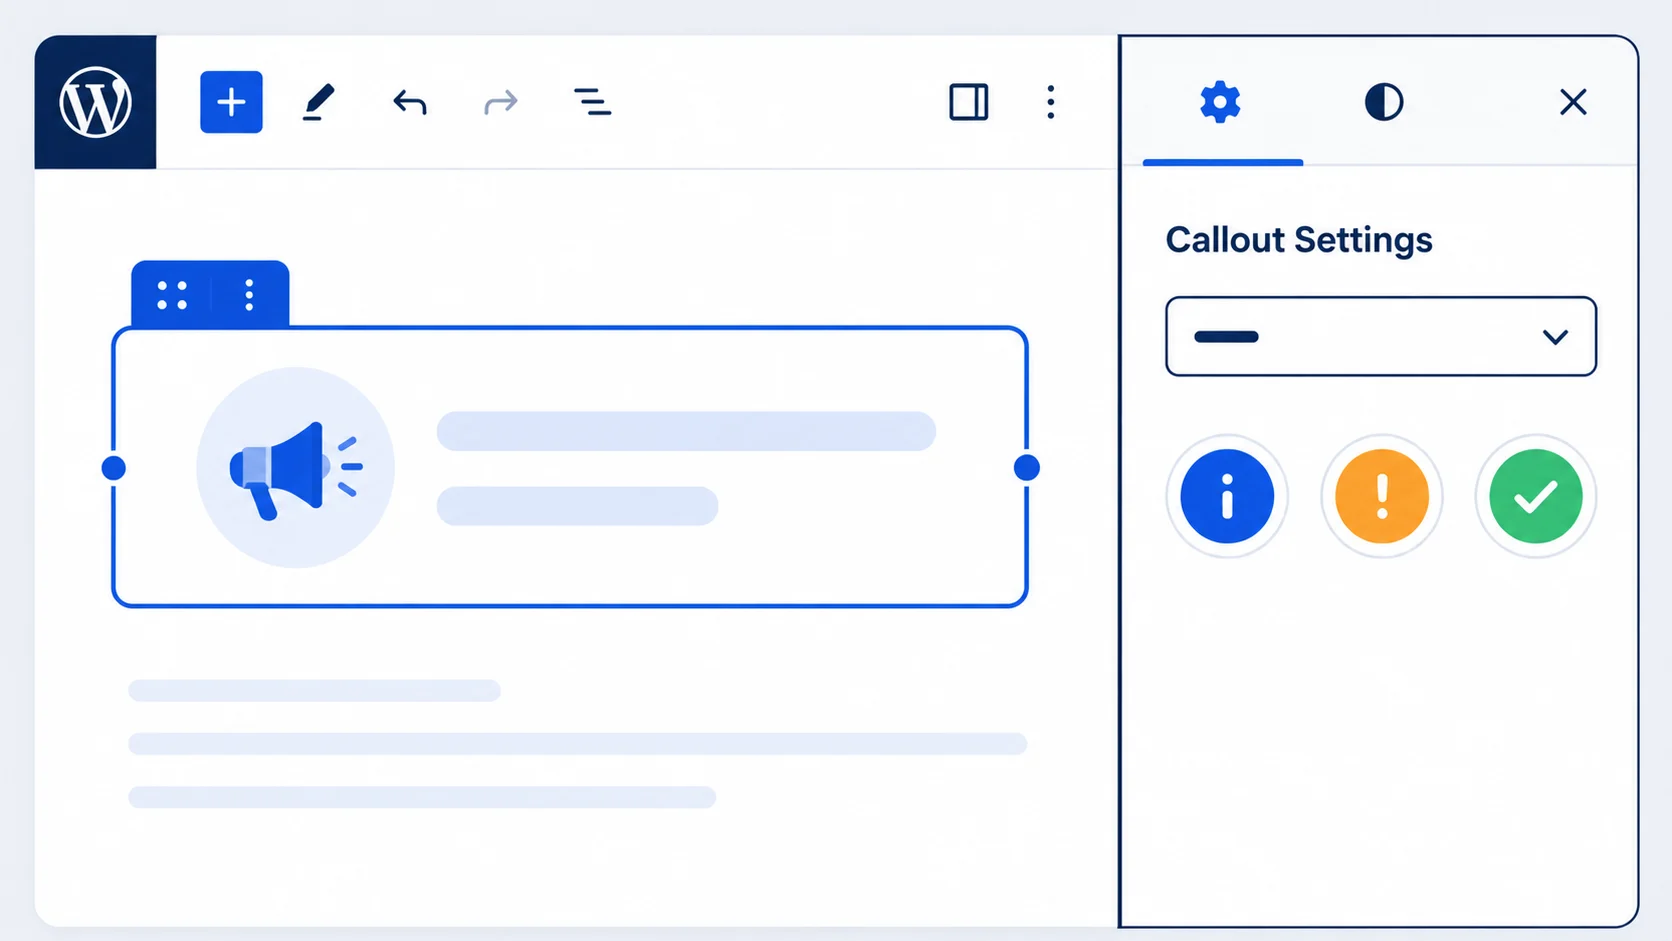
To let editors switch the callout style (info, warning, success) from the block sidebar rather than editing attributes manually, add a control panel with InspectorControls.
const { InspectorControls } = blockEditor;
const { PanelBody, SelectControl } = window.wp.components;

// Inside edit(), alongside the RichText:
el( InspectorControls, {},
    el( PanelBody, { title: 'Callout Settings' },
        el( SelectControl, {
            label: 'Style',
            value: attributes.style,
            options: [
                { label: 'Info', value: 'info' },
                { label: 'Warning', value: 'warning' },
                { label: 'Success', value: 'success' }
            ],
            onChange: function ( style ) { setAttributes( { style: style } ); }
        } )
    )
)
WordPress ships a large library of ready-made controls under wp.components — color pickers, toggle switches, range sliders, and more — so most block settings don’t need custom UI code at all.
4. Style the Block on the Front End
A regular CSS file, enqueued through block.json‘s style property (or manually via wp_enqueue_block_style()), covers both the editor preview and the live site.
.callout-box {
    padding: 16px 20px;
    border-left: 4px solid #2271b1;
    background: #f0f6fc;
    border-radius: 4px;
}
.callout-warning { border-left-color: #d63638; background: #fcf0f1; }
.callout-success { border-left-color: #00a32a; background: #edfaef; }
5. Use Dynamic Rendering for Data-Driven Blocks
If your block needs to pull live data (recent posts, a database query, an API call), skip the static save() function and render server-side with a render_callback instead — this is essential for any block whose content changes without the editor re-saving the post.
register_block_type(__DIR__ . '/blocks/callout-box', [
    'render_callback' => function ($attributes) {
        $style = esc_attr($attributes['style'] ?? 'info');
        $message = wp_kses_post($attributes['message'] ?? '');
        return "<div class='callout-box callout-{$style}'><p>{$message}</p></div>";
    },
]);
Note: Always escape and sanitize attributes in your render_callback, exactly as shown — attribute values are stored in post_content as JSON comments and could theoretically be tampered with by anyone who can edit raw content, so treat them the same as any other untrusted input, same as you would in a custom REST API endpoint.
6. Use block.json’s supports Field for Built-In Features
Rather than building your own color picker or spacing controls, the supports field in block.json can opt your block into WordPress’s native controls for free — color, typography, spacing, and alignment.
// block.json
"supports": {
    "color": {
        "background": true,
        "text": true
    },
    "spacing": {
        "padding": true,
        "margin": true
    },
    "align": [ "wide", "full" ]
}
7. Nest Other Blocks with InnerBlocks
If your block should contain other blocks — a testimonial block that wraps a paragraph and an image, for example — use InnerBlocks instead of a single RichText field. This lets editors compose freely inside your block using the blocks they already know.
const { InnerBlocks } = blockEditor;

// edit():
return el( 'div', blockProps, el( InnerBlocks ) );

// save():
return el( 'div', blockProps, el( InnerBlocks.Content ) );
8. Test the Block Thoroughly Before Shipping
Before releasing a block in a plugin, check: does it survive a page reload without a validation error, does the front-end output match what dynamic CSS expects, does it behave correctly when duplicated multiple times on one page, and does removing the plugin cleanly remove the block registration without leaving broken shortcode-like remnants in existing content? The official Block Editor Handbook and the block.json reference are the two most useful pages to keep open while building.
Wrapping Up
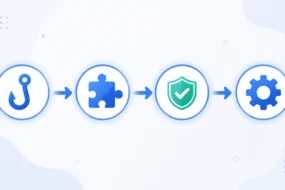
A custom block is really the same four pieces every WordPress extension point uses: a registration call, a schema (attributes), an editor UI, and a front-end output. Once this pattern clicks, it scales to far more complex blocks — the same approach powers things like custom REST API-backed blocks that pull live data into the editor, and structured block content is exactly what makes a clean headless WordPress front end possible in the first place. If you’re building blocks for a commercial plugin, keep the same security habits from our WordPress security checklist in mind — sanitize attributes on save and escape them on render, every single time, with no exceptions for “trusted” editor input.