How to Add Custom Tabs to the WooCommerce My Account Page
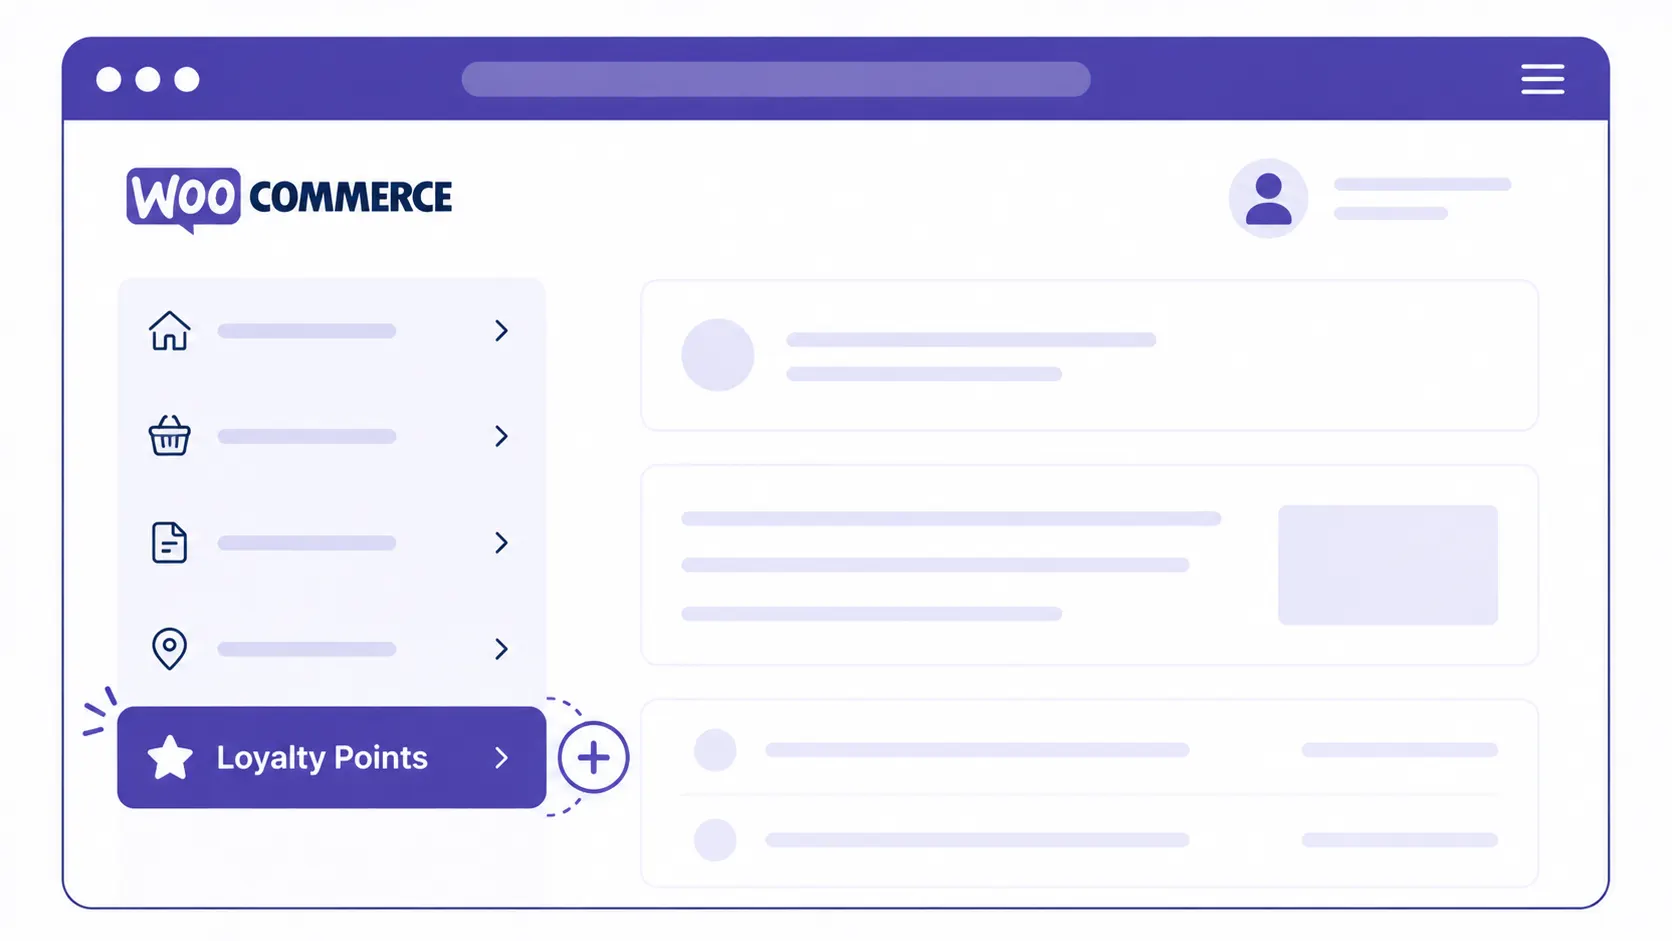
WooCommerce My Account tabs ship with a fixed default set — Orders, Downloads, Addresses, Account Details, Logout — but real projects almost always need more: a loyalty points balance, a support tickets tab, a wishlist, a subscription management panel. WooCommerce is built to support exactly this through its endpoint system, without touching a single core or plugin file. This guide covers the full process: registering the endpoint, adding it to the menu, rendering its content, and the two mistakes that cause it to silently fail.
How WooCommerce My Account Tabs Actually Work
Each My Account tab is backed by a WordPress rewrite endpoint — a URL segment appended to the account page, like /my-account/orders/. WooCommerce reads the current endpoint, matches it against a registered menu item, and fires a specific action hook to render that tab’s content. Adding a custom tab means doing the same three things WooCommerce does internally for its own tabs: register the endpoint, add it to the menu array, and hook into the content action.
1. Register the Endpoint
Use WordPress’s own add_rewrite_endpoint() on the init hook to tell WordPress this new URL segment exists.
add_action( 'init', 'wpwebguru_add_loyalty_endpoint' );
function wpwebguru_add_loyalty_endpoint() {
    add_rewrite_endpoint( 'loyalty-points', EP_ROOT | EP_PAGES );
}
Warning: Registering an endpoint alone doesn’t make the URL work — WordPress’s rewrite rules need to be regenerated once for the new endpoint to be recognized, or visiting /my-account/loyalty-points/ will 404. Never call flush_rewrite_rules() on every page load — it’s an expensive operation that rebuilds your entire rewrite rule set from scratch. Instead, flush once on your plugin’s activation hook:
register_activation_hook( __FILE__, function() {
    wpwebguru_add_loyalty_endpoint();
    flush_rewrite_rules();
});
If you’re developing locally and the endpoint 404s even after adding this, visit Settings > Permalinks in wp-admin and click Save once — that also triggers a flush and is the fastest manual fix while testing.
2. Register the Endpoint as a WooCommerce Query Var
This is the step most tutorials skip, and it’s the most common reason a custom tab’s content silently never appears even though the menu link works fine. WooCommerce’s own query class needs to know about your endpoint separately from WordPress’s rewrite system:
add_filter( 'woocommerce_get_query_vars', 'wpwebguru_loyalty_query_vars' );
function wpwebguru_loyalty_query_vars( $vars ) {
    $vars['loyalty-points'] = 'loyalty-points';
    return $vars;
}
Note: Without this filter, the URL loads without a 404, the tab appears in the menu, but the account page content area stays empty because WooCommerce’s WC_Query class never recognizes the endpoint as one it should handle.
3. Add the Tab to the Account Menu
The woocommerce_account_menu_items filter controls both which tabs appear and their order. Insert your new item at a specific position — here, right before Logout — by rebuilding the array.
add_filter( 'woocommerce_account_menu_items', 'wpwebguru_add_loyalty_tab' );
function wpwebguru_add_loyalty_tab( $items ) {
    $logout = $items['customer-logout'];
    unset( $items['customer-logout'] );

    $items['loyalty-points'] = __( 'Loyalty Points', 'wpwebguru' );
    $items['customer-logout'] = $logout;

    return $items;
}
Note: The array key (loyalty-points) must exactly match the endpoint slug registered in step 1 — WooCommerce uses this key to build the tab’s URL and to match the active tab for the “current” menu-item styling.
4. Render the Tab’s Content
WooCommerce fires woocommerce_account_{endpoint}_endpoint when the matching endpoint is active — hook into it to output your tab’s HTML.
add_action( 'woocommerce_account_loyalty-points_endpoint', 'wpwebguru_loyalty_tab_content' );
function wpwebguru_loyalty_tab_content() {
    $user_id = get_current_user_id();
    $points  = (int) get_user_meta( $user_id, '_loyalty_points_balance', true );
    ?>
    <h3><?php esc_html_e( 'Your Loyalty Points', 'wpwebguru' ); ?></h3>
    <p>
        <?php
        printf(
            /* translators: %d: loyalty points balance */
            esc_html__( 'You currently have %d points.', 'wpwebguru' ),
            $points
        );
        ?>
    </p>
    <?php
}
Warning: Note the hyphen in the hook name — WooCommerce builds this hook dynamically from your endpoint slug exactly as registered. A common typo is writing woocommerce_account_loyalty_points_endpoint (underscore) when the endpoint slug uses a hyphen (loyalty-points) — the hook name must match the slug character-for-character or the action never fires.
5. Removing or Reordering Existing Tabs
The same woocommerce_account_menu_items filter can also hide default tabs you don’t need — for example, removing the Downloads tab on a site with no downloadable products:
add_filter( 'woocommerce_account_menu_items', function( $items ) {
    unset( $items['downloads'] );
    return $items;
});
6. Set the Endpoint Title (Optional but Recommended)
By default, the browser tab title and page heading for your custom endpoint fall back to the account page’s own title. Use woocommerce_endpoint_{endpoint}_title to give it a proper title instead:
add_filter( 'woocommerce_endpoint_loyalty-points_title', function() {
    return __( 'Loyalty Points', 'wpwebguru' );
});
Common Mistakes to Avoid
- Skipping the
woocommerce_get_query_varsfilter (step 2) — the single most common reason a tab shows in the menu but never displays content. - Calling
flush_rewrite_rules()on every request instead of on activation only — a real, measurable performance cost on every page load site-wide. - Mismatched hyphen/underscore naming between the endpoint slug, the menu array key, and the content action hook — all three must use the identical slug.
- Not escaping dynamic output in the tab’s content callback — treat it like any other front-end template, using
esc_html(),esc_attr(), and friends exactly as covered in our WordPress security checklist.
Going Further: Pulling in Data Efficiently
If your custom tab displays data from a custom table — loyalty points history, support ticket status, or similar — query it the same way you would for any other admin-facing report: prepared statements, appropriate indexes, and caching where the data doesn’t need to be real-time. Our SQL query optimization guide covers this in detail, and if the same data needs to be available to a mobile app or a JavaScript-driven account dashboard, exposing it through a custom REST API endpoint is the natural next step rather than duplicating the query logic in two places. For the official reference on every My Account related hook, see WooCommerce’s own WooCommerce hooks reference.
Wrapping Up
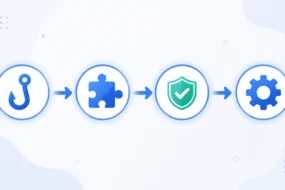
Adding a custom My Account tab is four hooks working together: an endpoint registration, a WooCommerce query var, a menu item, and a content callback. Get the naming consistent across all four and flush your rewrite rules exactly once on activation, and the tab will behave exactly like one of WooCommerce’s own built-in tabs — because from WordPress’s perspective, that’s exactly what it is.