


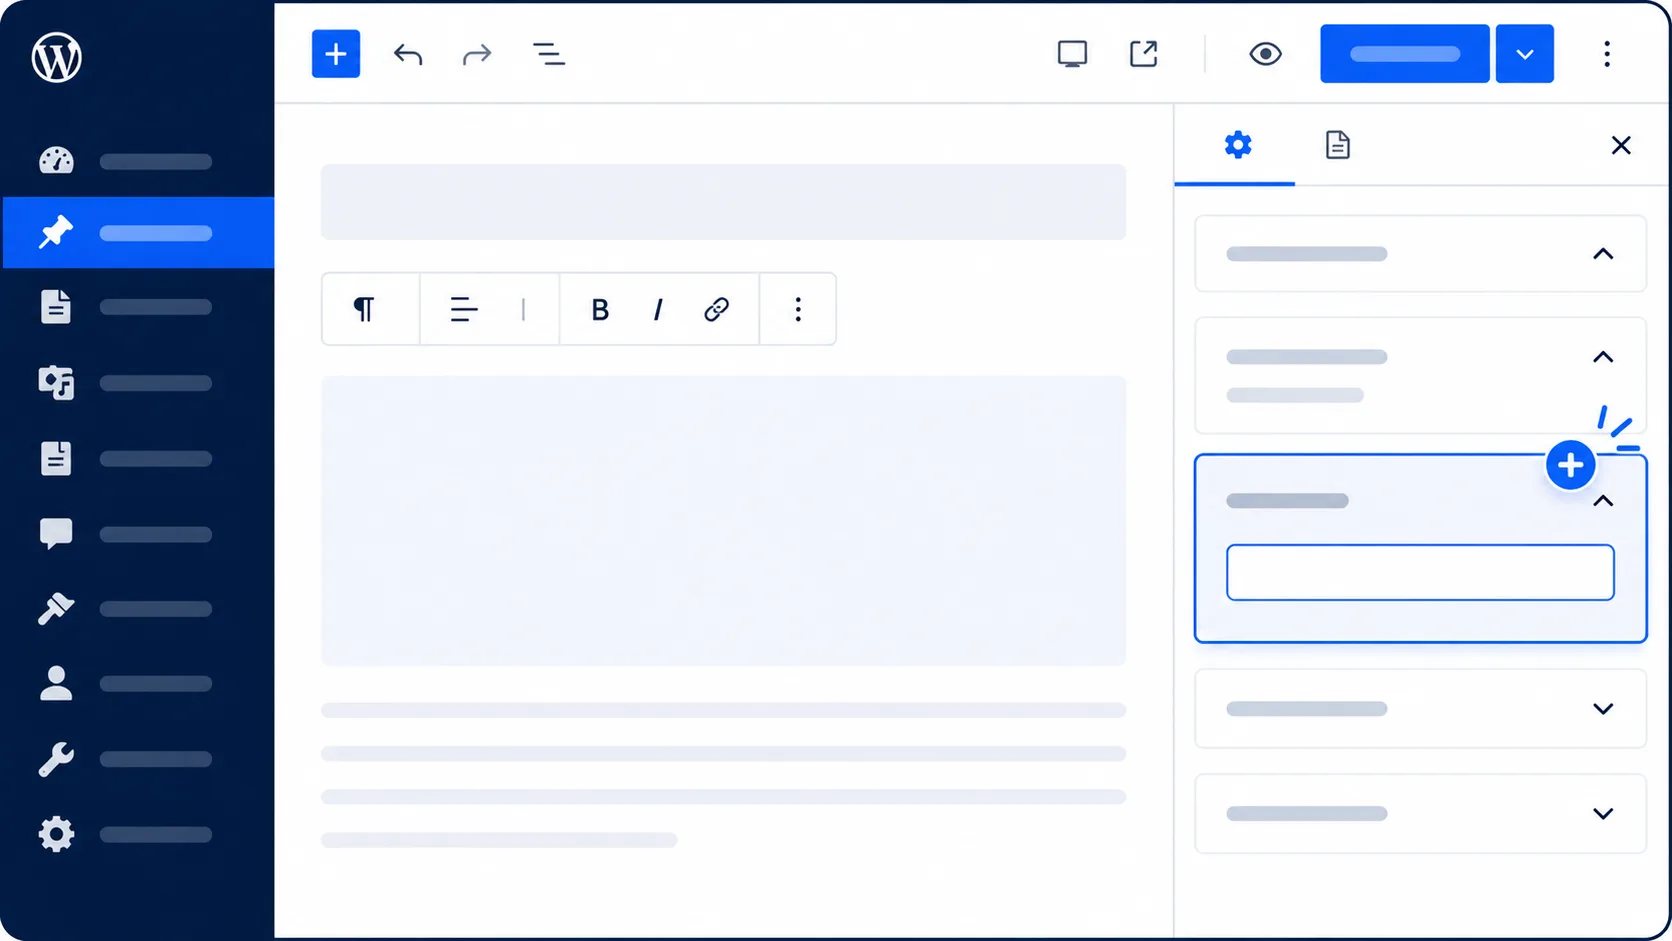
Learn how to add custom fields to posts and pages in WordPress using a metabox. WordPress custom fields add extra information to posts, pages, and custom post types. They’re pieces of post meta attached to a post, page, or custom post type on your site — and by using the add_meta_box() function, you can extend the editor with exactly the extra fields your content needs, beyond what the standard post editor offers out of the box.
In this guide, we’ll build a working custom fields metabox for both posts and pages, save the data securely, display it in a theme template, and fix a genuine bug in the save function found in a common version of this code — one that silently breaks the permission and autosave checks it relies on. For more on custom post types, see our Creating Custom Post Types tutorial first if you haven’t already.
Step 1: Create a Custom Metabox Function
First, register the metabox that will hold our custom field. Add this to your theme’s functions.php file, or better, a small site-specific plugin.
/**
 * Create the metabox
 * @link https://developer.wordpress.org/reference/functions/add_meta_box/
 */
function custom_fields_metabox() {
    add_meta_box(
        'custom-fields-metabox',
        'Custom Fields',
        'display_custom_fields_metabox',
        array( 'post', 'page' ), // Add to both posts and pages
        'normal',
        'default'
    );
}
add_action('add_meta_boxes', 'custom_fields_metabox');
Note: The original version of this snippet only registered the metabox for 'post', with a comment suggesting you manually change it to 'page' if needed — despite the tutorial’s own title promising support for both. Since WordPress 4.4, the $screen parameter accepts an array, so passing array( 'post', 'page' ) as shown above adds the metabox to both post types at once, with no need to register it twice.
What each argument means:
'custom-fields-metabox'— the metabox’s unique ID.'Custom Fields'— the title shown on the metabox.'display_custom_fields_metabox'— the callback function that renders the metabox’s content.array( 'post', 'page' )— which post type(s) show this metabox. Add a custom post type’s slug here too if needed.'normal'— where on the screen the box appears (normal= main column,side= sidebar).'default'— the display priority within that context.
Step 2: Create a Function to Display the Custom Field
Next, render the actual input field inside the metabox, pre-filled with any existing value:
/**
 * Render the metabox
 * @param  WP_Post  $post    The post object
 */
function display_custom_fields_metabox($post) {
    // Add nonce for security and authentication.
    wp_nonce_field( 'custom_fields_nonce_action', 'custom_fields_nonce' );

    // Retrieve existing value for the custom field, if any
    $custom_field_value = get_post_meta($post->ID, 'custom_field_name', true);

    // Output the custom field input
    echo '<label for="custom_field">Custom Field:</label>';
    echo '<input id="custom_field" name="custom_field" type="text" value="' . esc_attr($custom_field_value) . '" />';
}
Step 3: Save the Custom Field Data
To make sure the value is actually saved when the post or page is updated, hook into save_post:
/**
 * Save the metabox
 * @param  int  $post_id  The post ID
 */
function save_custom_fields( $post_id ) {
    // Check if a nonce was submitted at all.
    if ( ! isset( $_POST['custom_fields_nonce'] ) ) {
        return;
    }

    // Check if the nonce is valid.
    if ( ! wp_verify_nonce( $_POST['custom_fields_nonce'], 'custom_fields_nonce_action' ) ) {
        return;
    }

    // Check if it's an autosave.
    if ( wp_is_post_autosave( $post_id ) ) {
        return;
    }

    // Check if it's a revision.
    if ( wp_is_post_revision( $post_id ) ) {
        return;
    }

    // Check if the user has permission to save this data.
    if ( ! current_user_can( 'edit_post', $post_id ) ) {
        return;
    }

    // Sanitize user input.
    $custom_field_value = isset($_POST['custom_field']) ? sanitize_text_field($_POST['custom_field']) : '';

    // Update the meta field in the database.
    update_post_meta($post_id, 'custom_field_name', $custom_field_value);
}
add_action('save_post', 'save_custom_fields');
Warning: A common version of this save function has a real bug — it checks permissions and autosave/revision status using a variable called $campaign_id, which is never defined anywhere in the function (it appears to be a copy-paste leftover from an unrelated script). Calling current_user_can( 'edit_post', $campaign_id ), wp_is_post_autosave( $campaign_id ), and wp_is_post_revision( $campaign_id ) with an undefined variable means these checks run against null instead of the actual post ID — which can cause the permission check to behave incorrectly and, depending on your PHP error reporting settings, throw undefined-variable warnings on every single save. The corrected version above uses $post_id throughout, which is what these functions actually expect.
Note: The original also read the submitted field from $_POST['custom_field_name'], but the input’s name attribute in Step 2 is actually custom_field, not custom_field_name — a mismatch that means the value would never actually save. The corrected version reads from $_POST['custom_field'], matching the input’s real name. It also had a redundant nonce check (isset($nonce_name) checking a variable that was always set moments earlier by its own preceding line) rather than checking $_POST directly, which the corrected version does instead.
Step 4: Display the Custom Field in Your Theme
With the data saved, display it anywhere in your theme template files using get_post_meta():
$custom_field_value = get_post_meta(get_the_ID(), 'custom_field_name', true);
if (!empty($custom_field_value)) {
    echo 'Custom Field Value: ' . esc_html($custom_field_value);
}
Note: Always wrap saved meta values in esc_html() (or esc_attr() for HTML attributes) when echoing them into a template, exactly as shown above — even though this value passed through sanitize_text_field() on save, escaping on output is a separate, equally necessary step. Sanitizing controls what gets stored; escaping controls what’s safe to print in a given context, and skipping either one is the same class of oversight covered in our WordPress security checklist.
Adding Multiple Custom Fields
Real projects rarely need just one field. Extend the metabox to handle several by looping over a defined list instead of hardcoding each field by hand:
function display_custom_fields_metabox($post) {
    wp_nonce_field( 'custom_fields_nonce_action', 'custom_fields_nonce' );

    $fields = array(
        'subtitle'    => 'Subtitle',
        'external_url' => 'External URL',
    );

    foreach ( $fields as $key => $label ) {
        $value = get_post_meta( $post->ID, $key, true );
        echo '<p><label for="' . esc_attr( $key ) . '">' . esc_html( $label ) . ':</label><br>';
        echo '<input id="' . esc_attr( $key ) . '" name="' . esc_attr( $key ) . '" type="text" value="' . esc_attr( $value ) . '" style="width:100%" /></p>';
    }
}
The corresponding save function would loop over the same $fields array, sanitizing and saving each one in turn, instead of repeating the same four lines for every field.
Common Mistakes to Avoid
- An input
nameattribute that doesn’t match the$_POSTkey read in the save function — the exact mismatch fixed above, which causes the field to silently never save. - Undefined variables in permission/autosave checks, as covered in the warning above — always double-check these reference the actual
$post_idparameter. - Forgetting to escape output when displaying saved meta values in a template.
- Skipping the nonce check entirely, which leaves the save handler open to a cross-site request forgery (CSRF) style attack — a malicious page could submit a form to your save handler without the visitor’s knowledge if there’s no nonce to verify.
Conclusion
Adding custom fields with a metabox is a genuinely powerful way to attach and display extra data beyond what the standard post editor supports — the pattern above works identically for posts, pages, and any custom post type you register, like the Movie post type from our custom post type guide. Get the nonce check, the permission check, and the input-name/POST-key matching right, and the rest is just repeating the same pattern for however many fields your project needs.






3 replies on “How to Add Custom Fields to Posts and Pages in WordPress”
Thanx
I appreciate the clarity in this explanation.
[…] building out custom data structures for this kind of work, it’s also worth reviewing how to add custom fields to posts and pages the right […]