


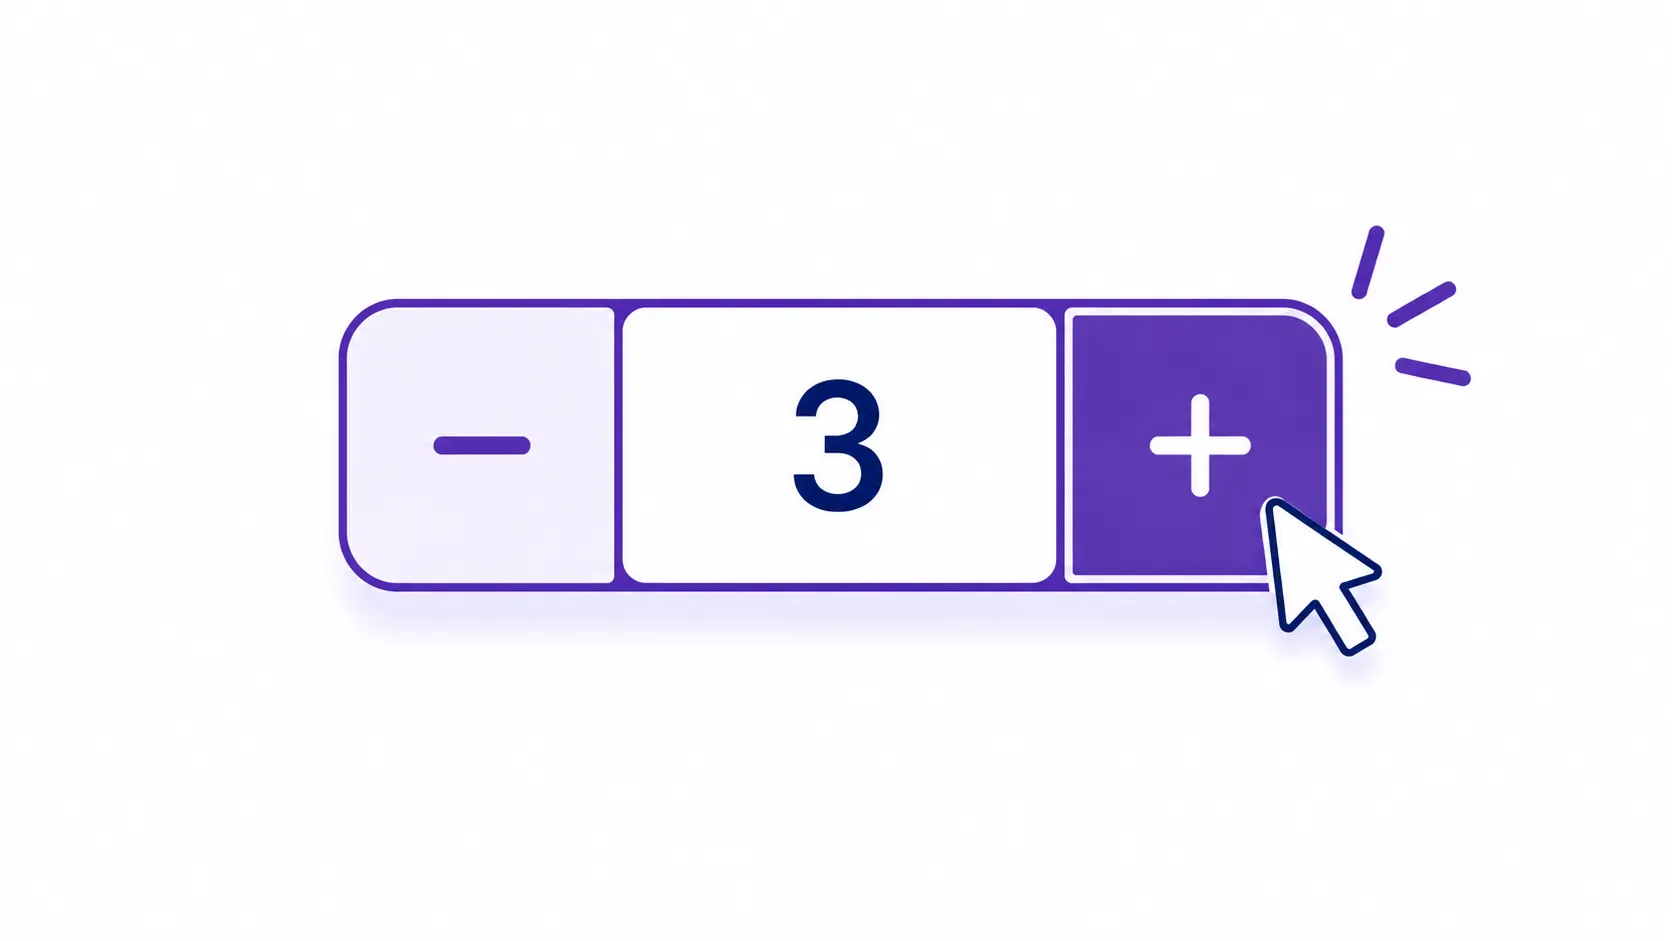
How to Add Custom Plus & Minus Buttons to the Quantity Input in WooCommerce
WooCommerce quantity plus minus buttons replace the default number-input arrows with clear, clickable controls. WooCommerce is a flexible, open-source eCommerce platform built on WordPress that lets store owners buy and sell products online. It’s the most widely used WordPress plugin for running an e-commerce site.
Building an e-commerce site really has one goal: convert visitors into buyers. Standing out in a crowded market usually means going beyond the default theme styling and rethinking small pieces of the UX — and the quantity input is a good example. By default, WooCommerce uses plain number-input arrows (or, on some browsers, no visible controls at all) to increase and decrease a product’s quantity before adding it to the cart or while updating the cart.
This guide replaces those default arrows with clear, clickable plus and minus buttons on both the product page and the cart page — and fixes a JavaScript syntax bug found in a common version of this snippet that silently breaks the entire script.

Step 1: Add the Plus and Minus Buttons
WooCommerce fires woocommerce_before_quantity_input_field and woocommerce_after_quantity_input_field around the quantity <input> — the perfect hooks for inserting buttons directly before and after it without touching template files.
/*============================================
=== Show plus minus buttons
============================================*/
add_action( 'woocommerce_before_quantity_input_field', 'wpwebguru_quantity_minus' );
function wpwebguru_quantity_minus()
{
    echo '<button type="button" class="minus" aria-label="' . esc_attr__( 'Decrease quantity', 'wpwebguru' ) . '">−</button>';
}

add_action( 'woocommerce_after_quantity_input_field', 'wpwebguru_quantity_plus' );
function wpwebguru_quantity_plus()
{
    echo '<button type="button" class="plus" aria-label="' . esc_attr__( 'Increase quantity', 'wpwebguru' ) . '">+</button>';
}
Note: type="button" on both buttons is important — without it, a <button> inside a <form> defaults to type="submit", and clicking it would submit the add-to-cart or cart-update form immediately instead of just adjusting the number. The aria-label attributes are added so screen readers announce “Increase quantity” / “Decrease quantity” instead of just a bare “+” or “−” symbol, which otherwise conveys nothing useful to assistive technology.
Step 2: Make the Buttons Actually Work
The buttons above are purely visual until JavaScript wires up their click behavior — reading the input’s current value, its min/max/step attributes (which WooCommerce sets automatically based on the product’s stock and settings), and updating it accordingly.
/*============================================
=== Trigger update quantity script
============================================*/
add_action( 'wp_footer', 'wpwebguru_cart_quantity_plus_minus_btns' );
function wpwebguru_cart_quantity_plus_minus_btns()
{
    if ( ! is_product() && ! is_cart() ) {
        return;
    }

    wc_enqueue_js( "
        jQuery( document ).on( 'click', 'button.plus, button.minus', function() {
            var qty = jQuery( this ).closest( '.quantity' ).find( '.qty' );
            var val = parseFloat( qty.val() );
            var max = parseFloat( qty.attr( 'max' ) );
            var min = parseFloat( qty.attr( 'min' ) );
            var step = parseFloat( qty.attr( 'step' ) );

            if ( isNaN( val ) ) {
                val = 0;
            }
            if ( isNaN( step ) ) {
                step = 1;
            }

            if ( jQuery( this ).is( '.plus' ) ) {
                if ( max && ( max <= val ) ) {
                    qty.val( max ).trigger( 'change' );
                } else {
                    qty.val( val + step ).trigger( 'change' );
                }
            } else {
                if ( min && ( min >= val ) ) {
                    qty.val( min ).trigger( 'change' );
                } else if ( val > 1 ) {
                    qty.val( val - step ).trigger( 'change' );
                }
            }
        });
    " );
}
Warning: A common version of this snippet has a real syntax bug in the plus-button condition — it’s written as if ( max && ( max '<= val ) ), with a stray single quote sitting right before the comparison operator. That’s not valid JavaScript; it throws a SyntaxError the moment the browser tries to parse the script, which silently breaks this entire inline script block — the plus/minus buttons render on the page but do nothing when clicked, with the actual error only visible in the browser console. The corrected version above removes the stray character. If you ever copy a code snippet like this and the resulting feature does nothing at all, checking the browser console for a JavaScript error is always the first debugging step.
Note: The corrected version also switches .parent('.quantity') to .closest('.quantity'), and uses .trigger('change') instead of the shorthand .change(), which jQuery has deprecated as a direct method call in newer versions in favor of the explicit .trigger() form. .closest() is more resilient than .parent() if a theme ever wraps the quantity input in an extra layer of markup between the buttons and the .quantity container.
Step 3: Style the Buttons (Optional)
The snippet above adds no CSS of its own, so the buttons will inherit your theme’s default button styling. A minimal starting point to lay them out inline with the number input:
.quantity {
    display: flex;
    align-items: center;
}
.quantity .qty {
    width: 50px;
    text-align: center;
}
.quantity .plus,
.quantity .minus {
    width: 32px;
    height: 32px;
    line-height: 1;
    cursor: pointer;
}

Common Mistakes to Avoid
- A JavaScript syntax error anywhere in the script, as covered above — always check the browser console if a feature like this appears to do nothing.
- Forgetting
type="button", which causes the button to submit the surrounding form instead of just adjusting the quantity. - Not restricting the script to relevant pages — the
is_product() / is_cart()check keeps this from loading site-wide where it isn’t needed, which matters for page-load performance. - Forgetting the mini-cart or checkout page if your theme also shows an editable quantity input there — extend the conditional check (for example, adding
is_checkout()) if you need the buttons in more places than just the product and cart pages.
Wrapping Up
Three pieces make this work: two action hooks to insert the button markup, a small jQuery handler to make them functional, and a bit of CSS to make them look intentional rather than default. If you’re customizing more of the WooCommerce customer experience beyond the quantity input, our guide on adding custom tabs to the My Account page covers a similar pattern of hooking into WooCommerce’s own action/filter system rather than overriding template files.






2 replies on “WooCommerce Quantity Plus Minus Buttons: How to Add Them”
[…] Sticky "Add to Cart" bars on WooCommerce product pages — keeping the buy button reachable without scrolling back up, and a natural pairing with our guide on custom quantity plus/minus buttons. […]
[…] also customizing quantity controls elsewhere in the WooCommerce cart/checkout flow, our guide on custom quantity plus/minus buttons follows the same pattern of hooking into WooCommerce’s existing filters and AJAX endpoints […]